By Christian Foster
Miro is an online whiteboard/canvas that is frequently used in the corporate sphere. It is provided in both free and paid versions, and has many different features and uses. Miro, being so versatile, provides a vast array of features that cannot all be discussed here. However, this blog is provided as an introduction to Miro and can be used as a starting place for further research.
Getting Started
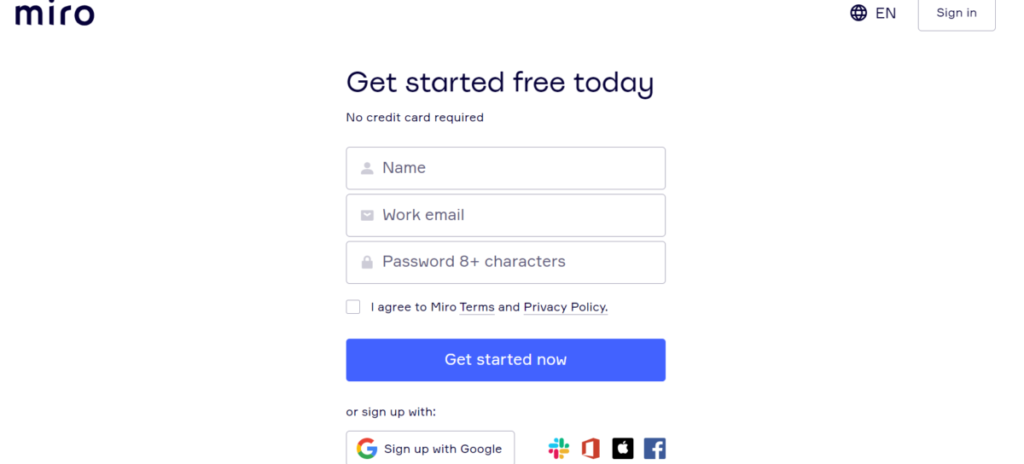
The first step to using Miro is finding it online at miro.com and creating an account. As previously mentioned, Miro offers both a free and a paid service with different features and limitations. The home page for signing up for Miro should look like the image below.

After selecting “Sign up free” in the top right hand corner, you will be taken to a page that looks like the image below. One can sign up manually or using Google and other options displayed at the bottom of the page. Notice that this option is for the free version of Miro. One has the option to upgrade to the paid version after creating a free account.
Navigating the Miro Dashboard
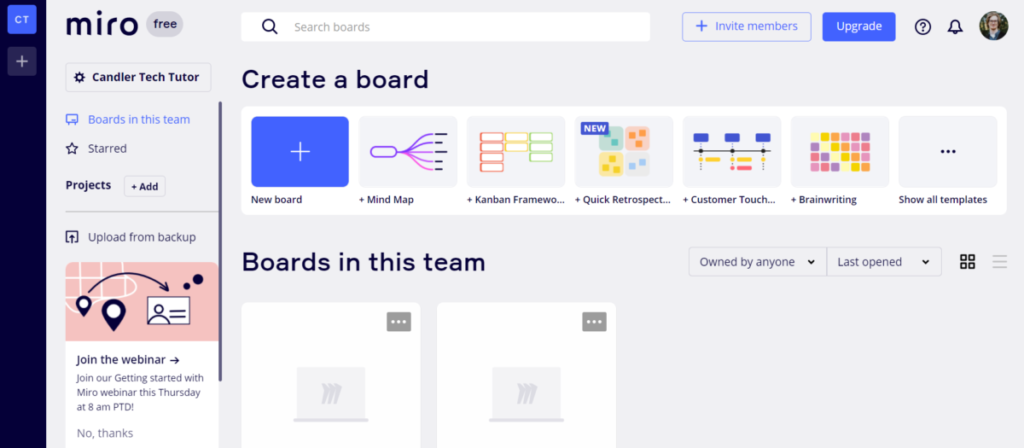
After making an account, the Miro dashboard (shown above) should appear. As you can see, there are many options and functions available for use on the dashboard. One can give their “team” a name (in this example, my team is named “Candler Tech Tutor”, which can be seen under the Miro logo), invite members to your team, see boards being worked on by this team, and much more. However, the most important function that is provided is the creation of a new board, the first step in utilizing Miro.
Creating a New Board
Templates
Before creating a new board, it will be helpful to look at the templates provided. To view the templates, one can click Show all templates in the upper right hand corner of the dashboard screen, under “Create a board.”
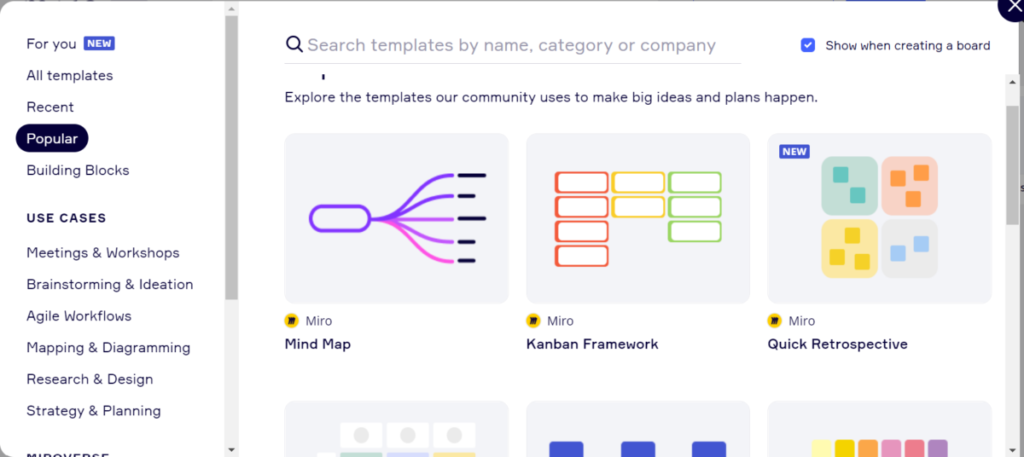
After selecting Show all templates, the screen shown in the image above will appear, showing you different template options. To use, preview, or find out more about the template, hover your mouse over the template of interest to view and select what action you wish to take. Each template offers different functions and is suited for particular tasks and activities. For this example, Mind Map will be the template used.
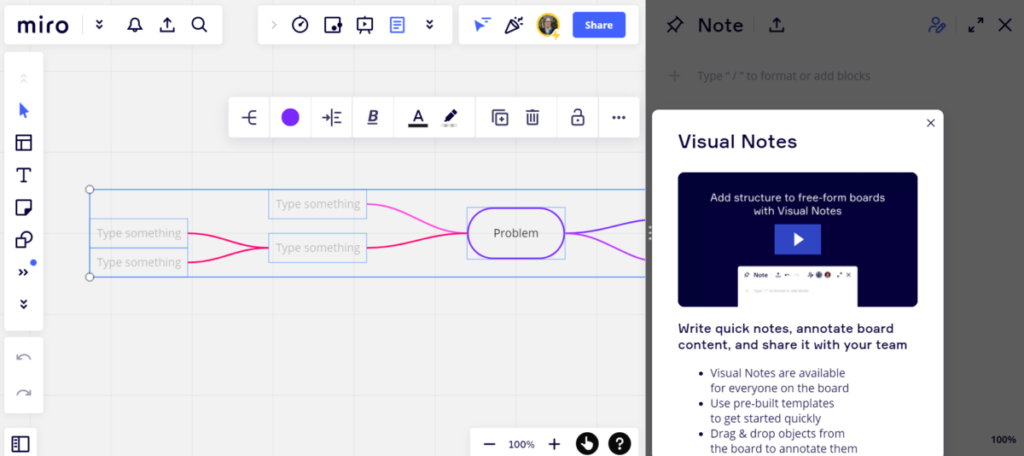
After selecting which template you will be using, a page similar to the one in the above image should appear on your screen. Since an instructional video about Visual Notes is provided at the start screen of a new board, how to use Visual Notes will not be covered in this blog, and the following example images will be shown having exited out of the Visual Notes function bar.
Using a New Miro Board
Having selected a template for your new board and exiting out of Visual Notes, you are now ready to start adding content to your new board. A blank Mind Map board will look like the image below:

Each template will provide moveable cells and text blocks for inputting content. One can add text, images, or links into these cell blocks and draw arrows or other connections between them. The left-hand column shows a multitude of different actions and tools one can utilize when designing and editing a board. Another important feature in Miro is the ability to zoom out in order to connect multiple charts and pages of information.
Final Thoughts on Miro
Miro offers users a multitude of resources for collaboration and organization. While new users may be overwhelmed at first glance by the breadth of options provided by this online whiteboard, many will find it to be one of the most versatile applications in their organizational tool box upon learning how to use its basic functions. Overall, can be utilized in a time saving and efficient manner for any user.