
The basics:
I wanted to try my hand at some leather-craft. I needed a way to carry an iPad and Apple Pencil. I think this just made sense as an opportunity to try something new.
I reckon that there are some uses for leather over fabrics or similar textiles that would be beneficial to a research lab. Perhaps someone from an insect research lab needs to modify some protective gear? Perhaps someone from a mobility lab needs to create a housing for an electronic sensor that is more durable than cotton or polyester, but more flexible than 3D printed plastics? Having some experience with the concept seemed like a necessary thing as a result.
Ultimately, I’d like to try to turn some sort of leather-craft object into a workshop idea. By doing this, I came across a few minor (and potentially obvious) things to account for with a potential workshop.
Project in action:
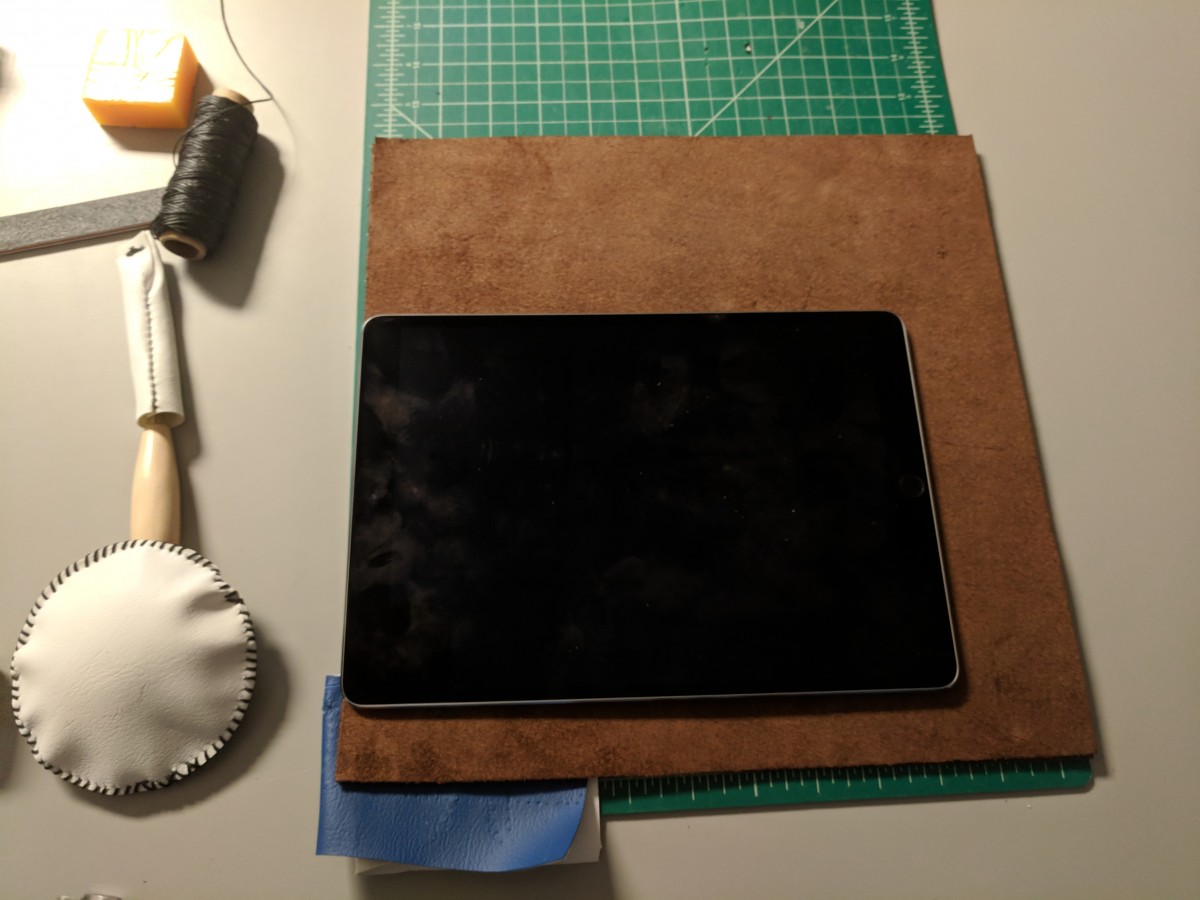
First I laid everything out to try to gauge sizes. I knew the dimension of the iPad, but I wasn’t sure how the stitching would impact the fit. For example, if you have a 12″ length of material to fit a 12″ object, your stitching is going to take up $FOO inches of material. So your object will stick out at least $FOO inches. But there is also that small gap between the object and the stitch. You’ll have $FOO + $GAP inches of object sticking out as a result. I was worried about that and not sure how to accommodate it.
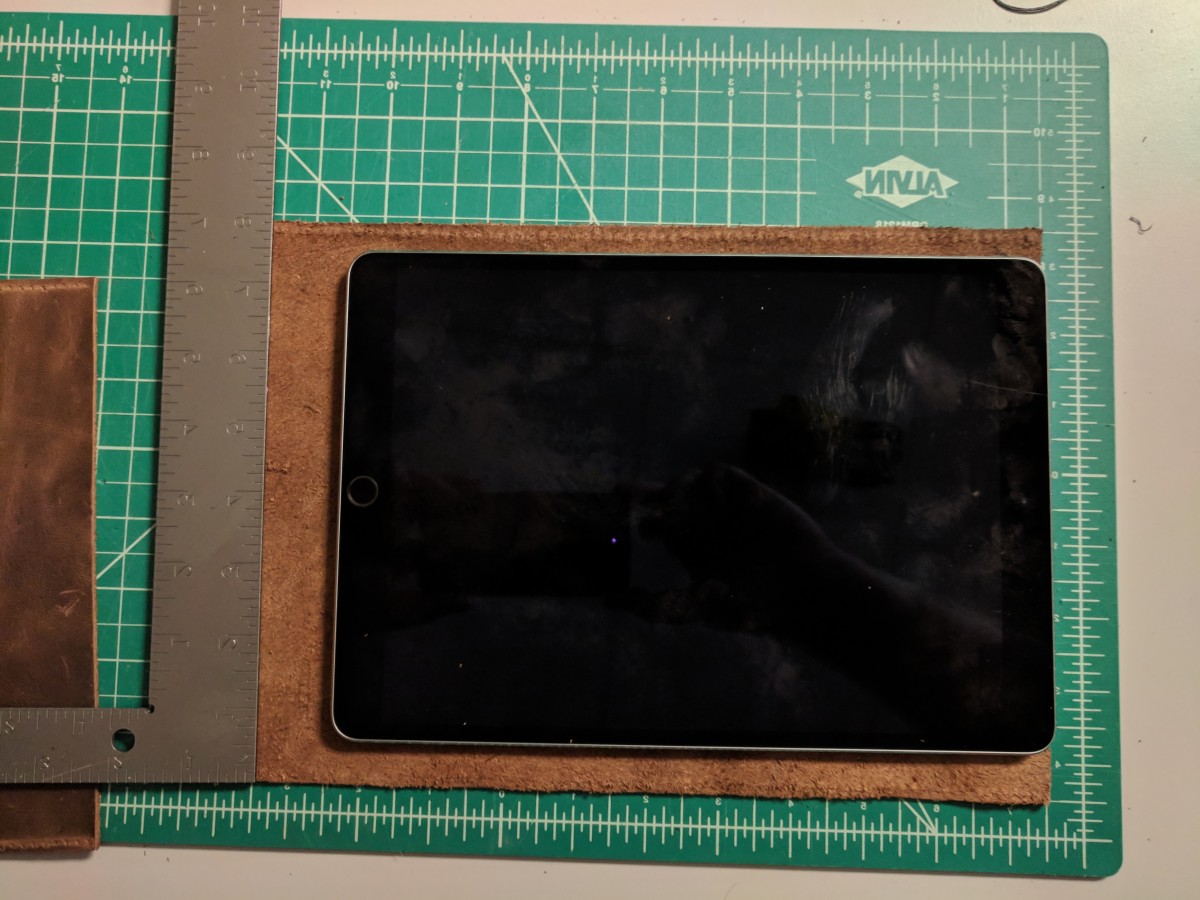
Here I started to trim things down and make some guesses on length and width. I did this for two pieces of leather. Once I had the general shape, I used a gouging tool to make a line on the outer (nice) sides, on the edges. This is where my stitches would go. I then used a set of prong chisels to punch my holes for my stitches. I preferred these over wheel based devices since I had better control over hole placement. I could also guarantee a hole would be made.
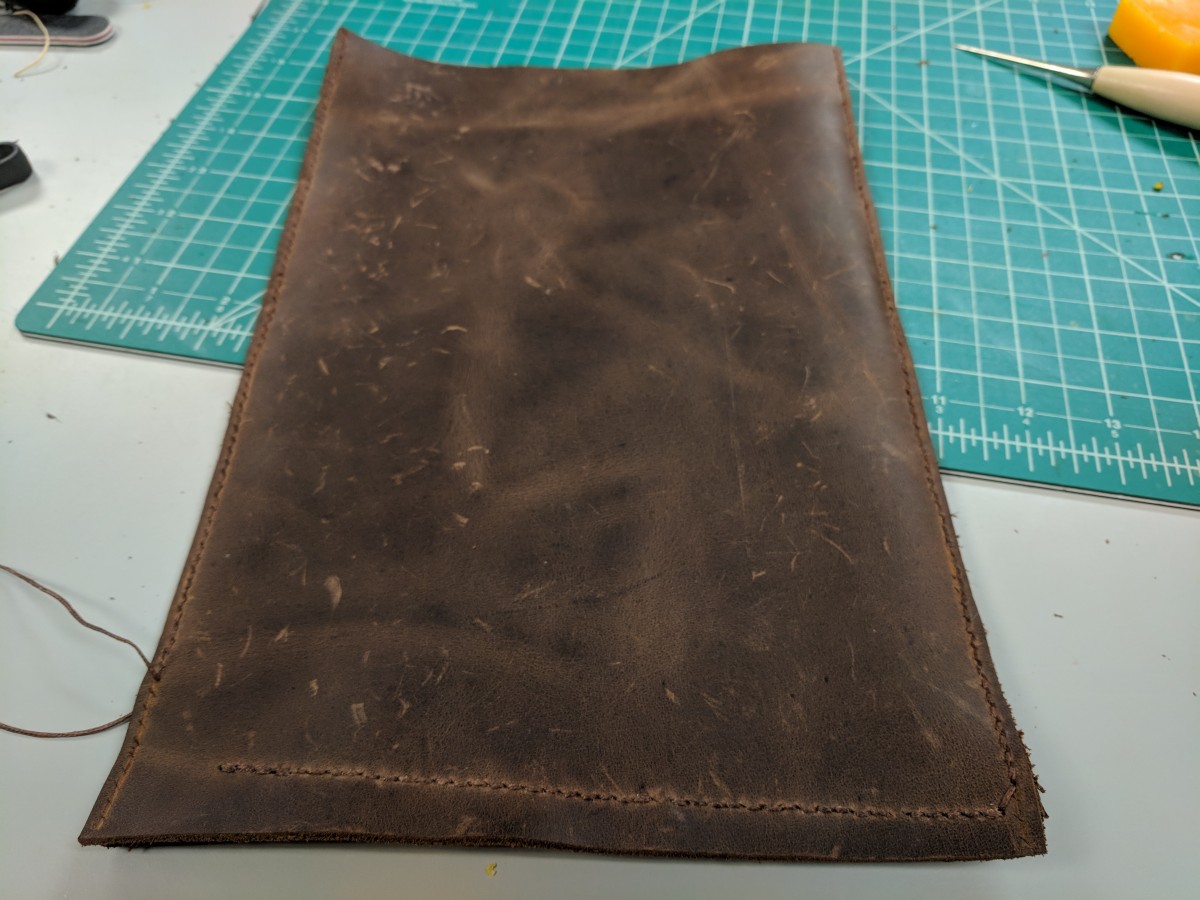
I proceeded to stitch everything up. One side, then the other, then the third. I did a test fit when I had the two sides stitched. For the third set of stitches, I didn’t use a groover. So my stitches are askew. Turns out, that wasn’t much of a problem as that is where the Apple Pencil will stash itself. It gives it an air of “this is slanted so it doesn’t fall out” instead of “measure zero times and cut a few times”.
Once everything was stitched, I put the iPad in, gauged approximately where I needed a “stopper” stitch, and pounded 4 holes into the center of the sleeve towards the bottom. The stitches there will separate the iPad from the Pencil. I didn’t go all the way across as I just needed a stopper more than a full separation.
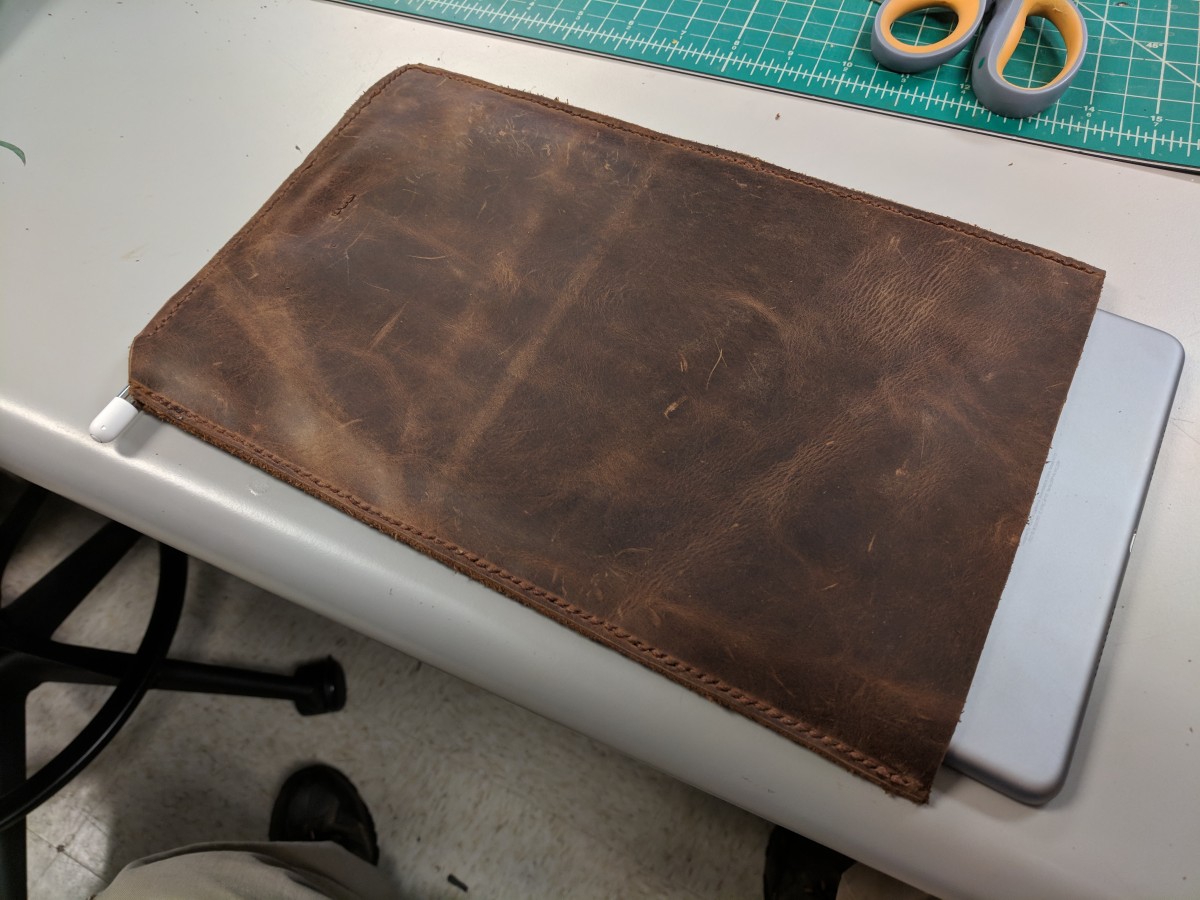
Here we go. I trimmed the excess of the edges, then roughed them up with an emery board.
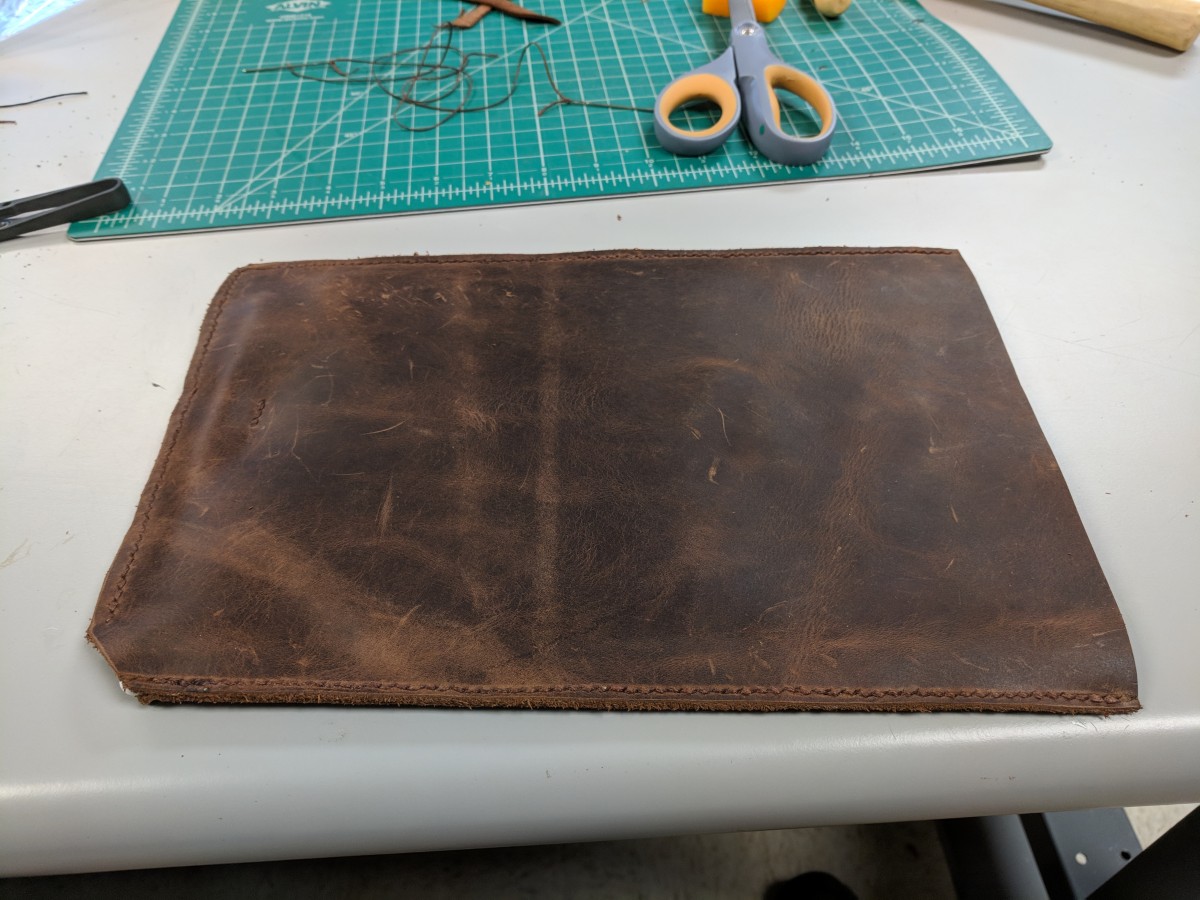
Lessons Learned:
- Well, for one, measure things out. Doing things by eye and guesswork was ok in this instance, but definitely measuring things out. I was concerned a few times that my holes were not going to line up properly. I’m going to have to find some folks smarter than myself to figure out what might help with that.
- A template might be handy. I know I’m going to create small templates out of acrylic on the Carvey to have pre-defined “cut here, stitch there” kind of things for any future workshops.
- Small projects would be best for a workshop. I’m thinking a minimalist wallet. Maybe some sort of glasses case type object as well. It will depend on if I want to get into certain stitch types. Overall though, this took about 2 hours to complete. We try to keep our workshops to an hour. If I had to explain how to perform a specific stitch, how to cut, etc; the time would just grow to be unmanageable from a workshop perspective.
- Maybe see if a Cricut or similar device could automatically cut your material. I’m really keen on this idea. The ability to duplicate and automate certain tasks is incredibly appealing. Plus it lets you teach about using another tool, about vector graphics, and more.
- Account for using more thread than you expect. For each side, I measure out about 6.5 – 7.0 lengths of my finished object in thread. I originally was thinking 3-4 lengths would be fine, but I’m glad I was overly paranoid about it.
Overall, I’m pleased. I don’t think it is that bad for a first project and a “fly by the seat of your pants” approach to this.
- On Github: nope
- Date: August 2018
- Lead Tech: Robin
- Tech Used: Needle and thread. Maybe a little fire.