A WordPress theme is a great, great thing. It controls the look of your website, has many built-in customizable features that you can access through your WordPress dashboard, and there is a never-ending stream of different themes to choose from. The simplest way to work with WordPress is to select a theme that works with the content of your site — a gallery theme for photography-heavy sites, a no-frills clean theme for a simple blog. But what if you find a great theme for your content, have customized everything available to you through the dashboard, and there are still some small, nagging issues with the theme? You want to customize the CSS to remove awkward padding in the footer, change the size of your site’s title, or add hover color to hyperlink text.
There are a few good options for updating the CSS of your website in WordPress. First, you can check to see if the theme allows you to add custom CSS within its “Theme Options” or “Theme Settings” under the “Appearance” menu of your dashboard. Not all themes give you access to additional settings, and not all provide custom css capacity within those settings, but if your theme has this option, it’s a good one to use, chiefly because your edits won’t disappear if you update your theme. If your theme doesn’t have this option, don’t be tempted to make any css edits using the “Editor” option under the “Appearance” menu, as your edits will disappear with a theme update. And letting your theme languish without updates isn’t a good solution, since many bugs and security issues are patched in theme updates.
If your theme doesn’t include an option to add custom css within its additional “Settings” or “Options,” then you might want to consider customizing the css through a plugin such as Jetpack. This would allow you to update your theme without losing any changes, but it would also apply your edits across any theme you activate on your site. If you change your theme, your custom css would still be active in the new theme. This may be a reason to specifically choose to use a plugin, or to avoid it, depending on your needs. This Theme Foundry blog post can help you determine whether you should use a plugin, or their preferred third method of css customization: child themes.
To avoid erasing your edits while also allowing updates to your theme, probably the best practice is to create a child theme that essentially copies all the files of your original “parent” theme, but overrides the parent CSS stylesheet with the new child stylesheet where you can make your changes. (Note: This is only possible for sites using wordpress.org that have FTP access to the hosting server.) Child themes are theme-specific, so that you can change themes without your css applying to the new theme. Creating a child theme also allows you to edit your theme’s template files and scripts, so if you want to make any edits that exceed css customization a child theme is definitely the way to go.
There are already a ton of tutorials out there for how to set up a child theme, so I won’t add another to the heap. What you’ll find here is simply a resource for figuring out which other resources are worthwhile. Wading through google hits can be overwhelming for some (me!), and while sifting through those murky waters can sometimes be the best way to learn, there are downsides too. Reading a dozen tutorials with almost identical content is time consuming, and some tutorials are simply better than others. So, without further introduction, let me tell you what I found when I figured out how to create a child theme for the first time:
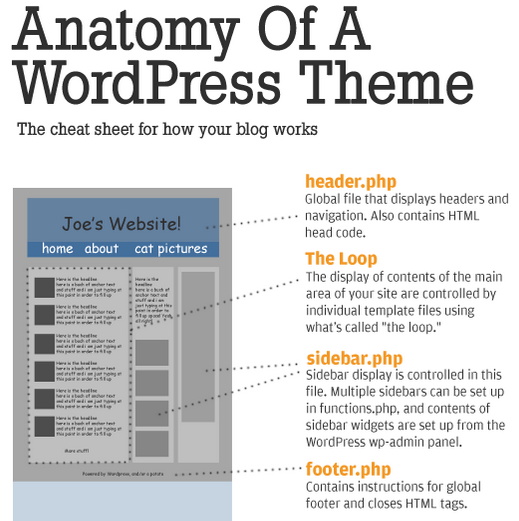
1. Infographic on WordPress Themes

I found this infographic on the basic components and functionality of a WordPress theme a good overview of all the parts and pieces I would likely be accessing once my child theme was up and running. I generally think it is a good idea to have a basic understanding of the big picture, which in this case comes down to these sorts of questions: What are the various components of a WordPress theme? How do those components interact? Knowing this will help when it comes time to edit.
2. WordPress Documentation

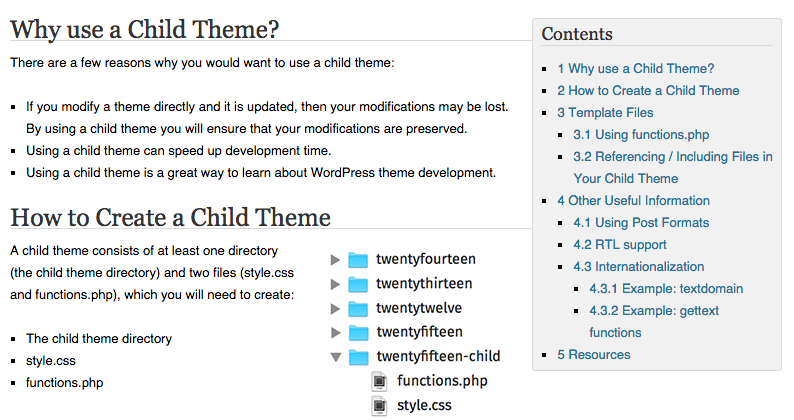
There is often no better place to look than the source. WordPress has a fantastic codex that includes lessons, a glossary, installation instructions, a getting started guide, and other goodies. The Child Themes documentation looked a bit intimidating to me at first, so I browsed many other tutorials from google before coming back to this one. Once I started reading, though, it wasn’t bad at all. I quickly found a couple other reasons to back up my belief that you should always check the source for official instructions:
- The WordPress codex page provides a list of links to other resources on child themes. I saw a couple of these on google, but if I had come here first it would have been a one-stop-shop search. (Though there are still more links here than necessary.)
- WordPress notes an important change to child theme best practices that I did not see in any other web tutorial. WordPress recommends enqueueing the parent stylesheet rather than importing it. The codex page also warns that some of the resources they link to are not up to date in this regard.
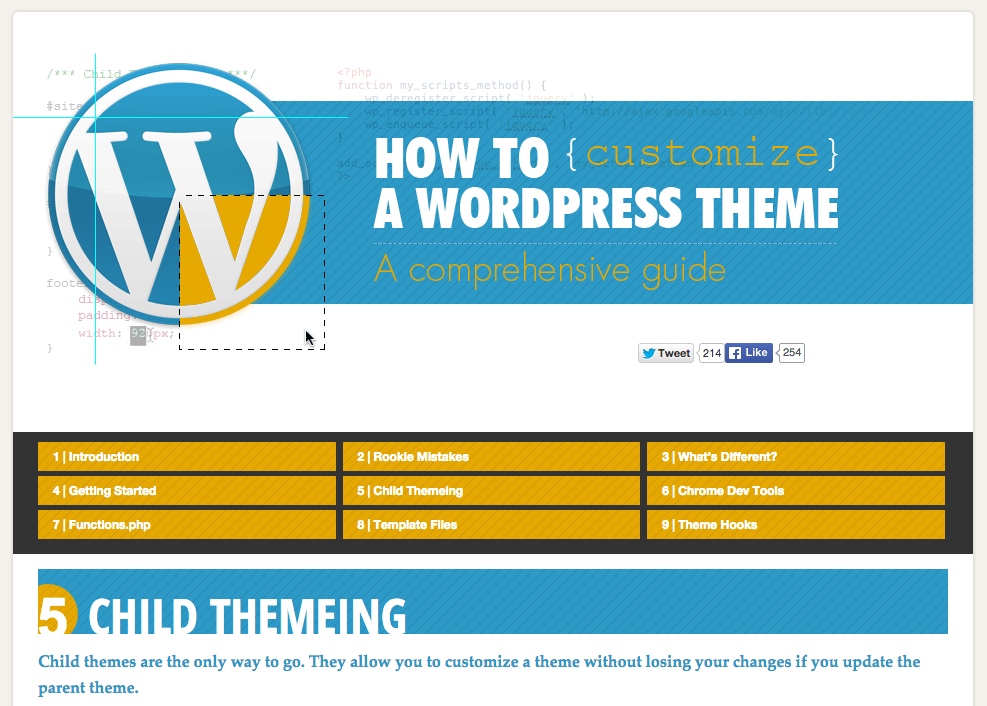
3. Comprehensive Visual Guide

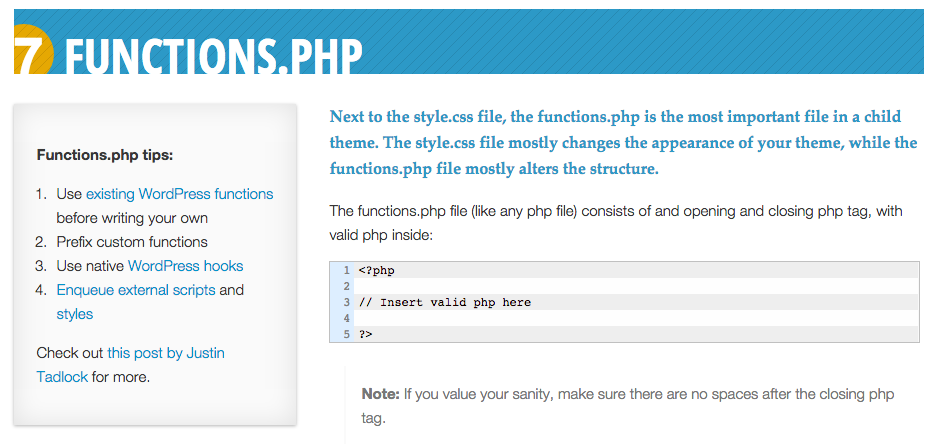
This tutorial combined the best of both worlds — the visual style of the infographic with the detail of the codex instructions. The guide is thorough, and ranges from simple information about how to install a theme to more complex aspects of customization such as action and filter hooks. However, the design doesn’t overwhelm, since each section is organized into separate slides. The style and organization of this guide is clean and appealing, as is the range of instructions and helpful hints it offers.
With these three resources in hand, you should be able to set up your child theme with little difficulty. I recommend looking through the infographic and visual guide first, and then following the instructions found on the WordPress codex. Happy customization!

