By: Ryan Runager and Dr. Sarah Bogue
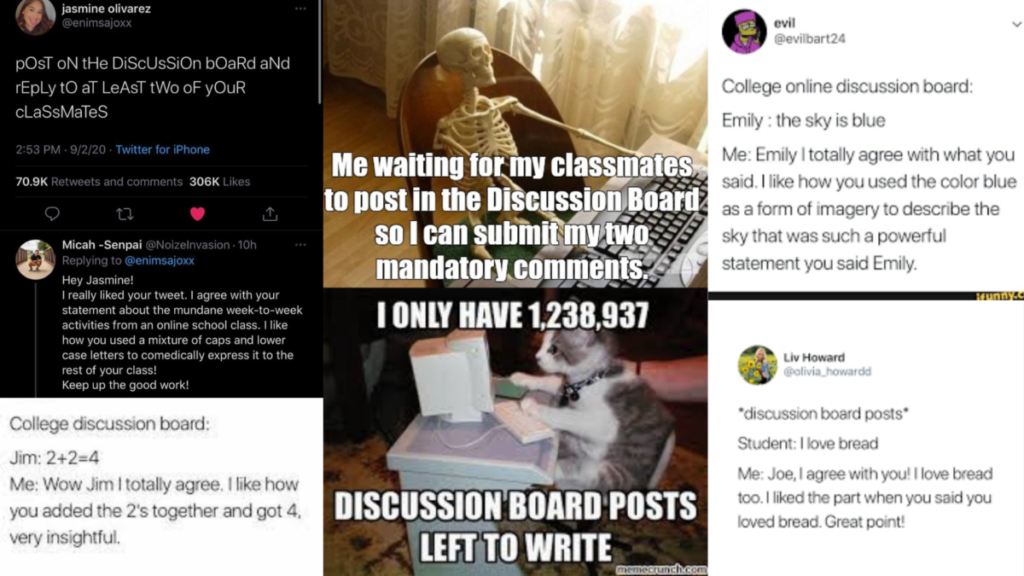
Often, for many classes, getting a particular grade or simply completing the assignment is more important than the learning of class material.
Asao B. Inoue, Professor of Rhetoric and Composition at Arizona State University, writes:
Classroom writing assessment is more important than pedagogy because it always trumps what you say or what you attempt to do with your students. And students know this. They feel it.[1]
This statement was posed to Candler School of Theology faculty as part of our “Creative Assessments Cohort” supported by the Wabash Center for Teaching and Learning in Theology and Religion.
In the conversation that followed, we received various comments:
- “Assignments are pedagogy.”
- “Assignments show what you’ve learned.”
- “Assignments can be essential for formation (vocational, spiritual).”
- “Assignments demonstrate skills (synthesizing, reflecting) and understanding.”
Our cohort captured the heart of Inoue’s argument – that assignments are more than the assignment itself.
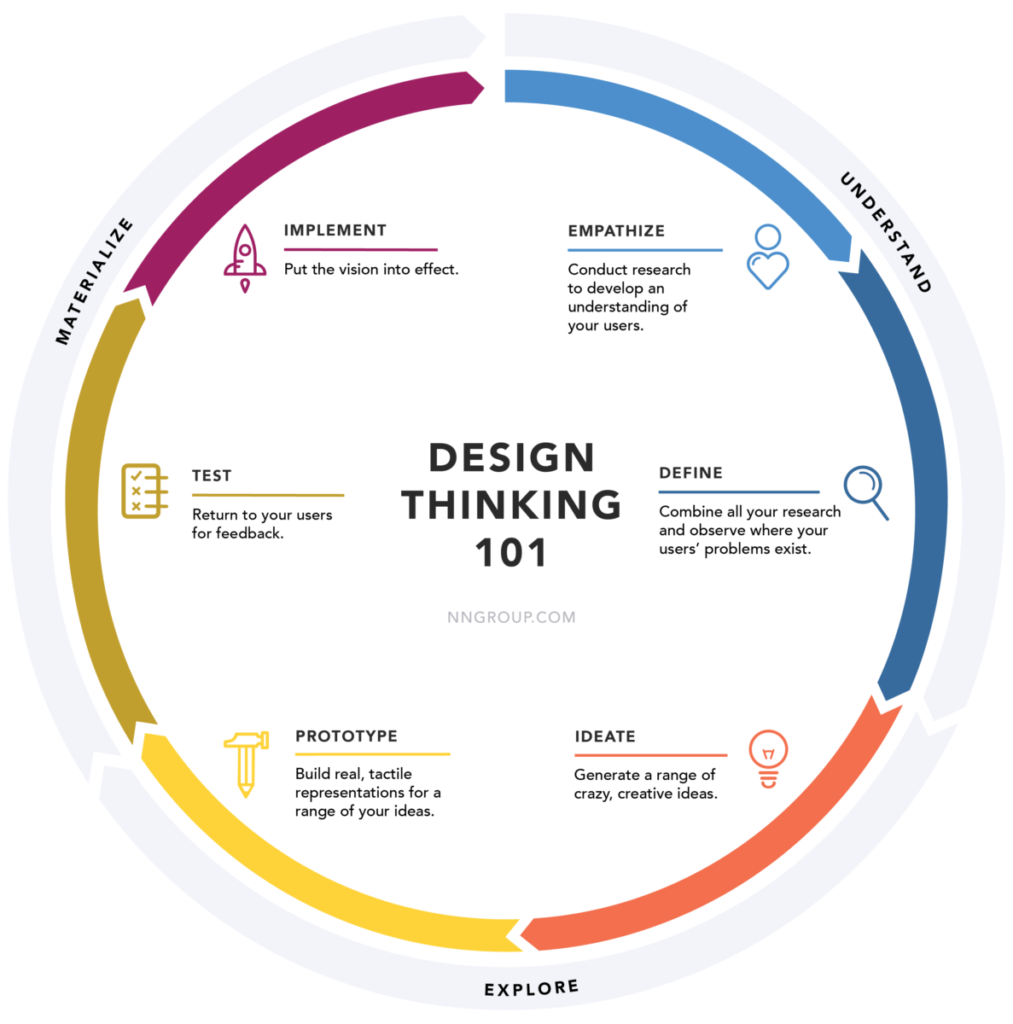
The Process
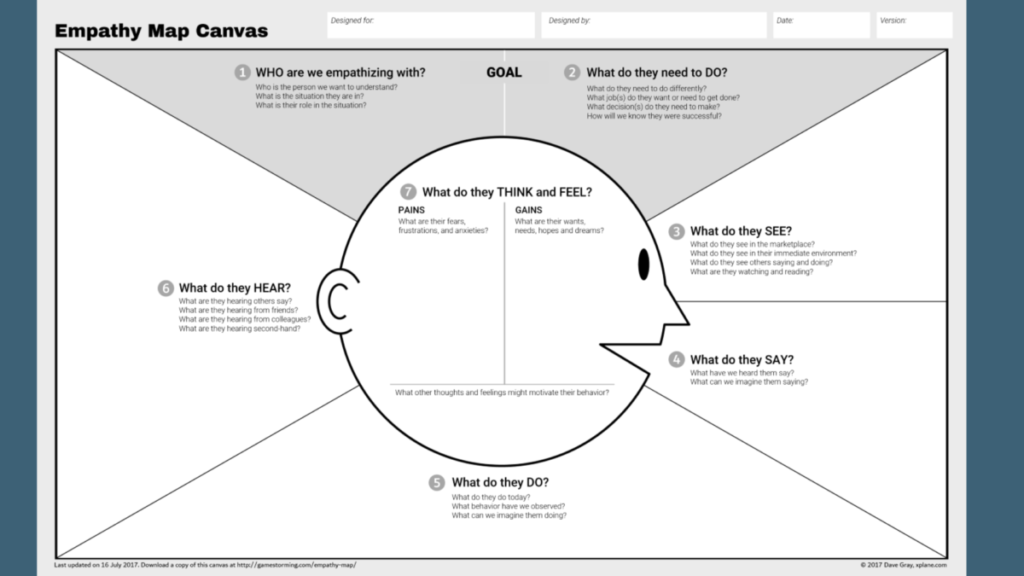
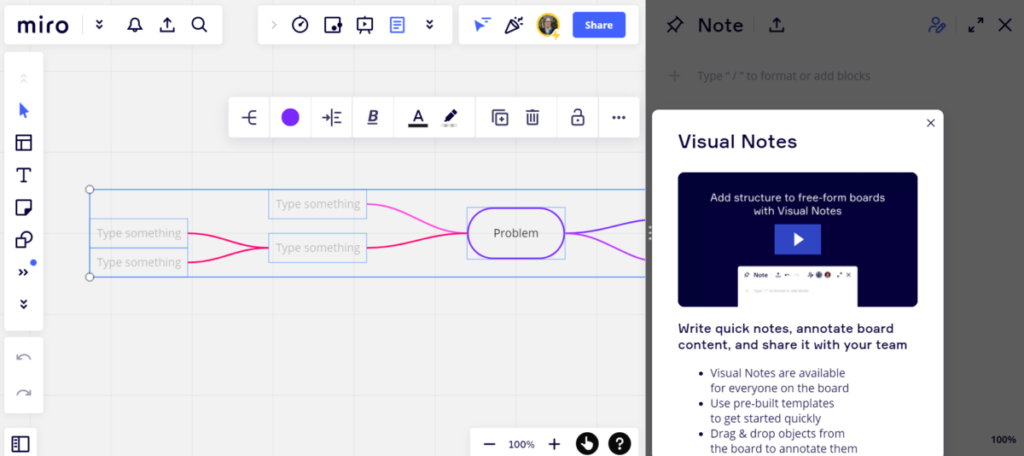
In our last post, we focused on the design thinking process and how empathy and reflection are essential to any innovation – especially innovative teaching.
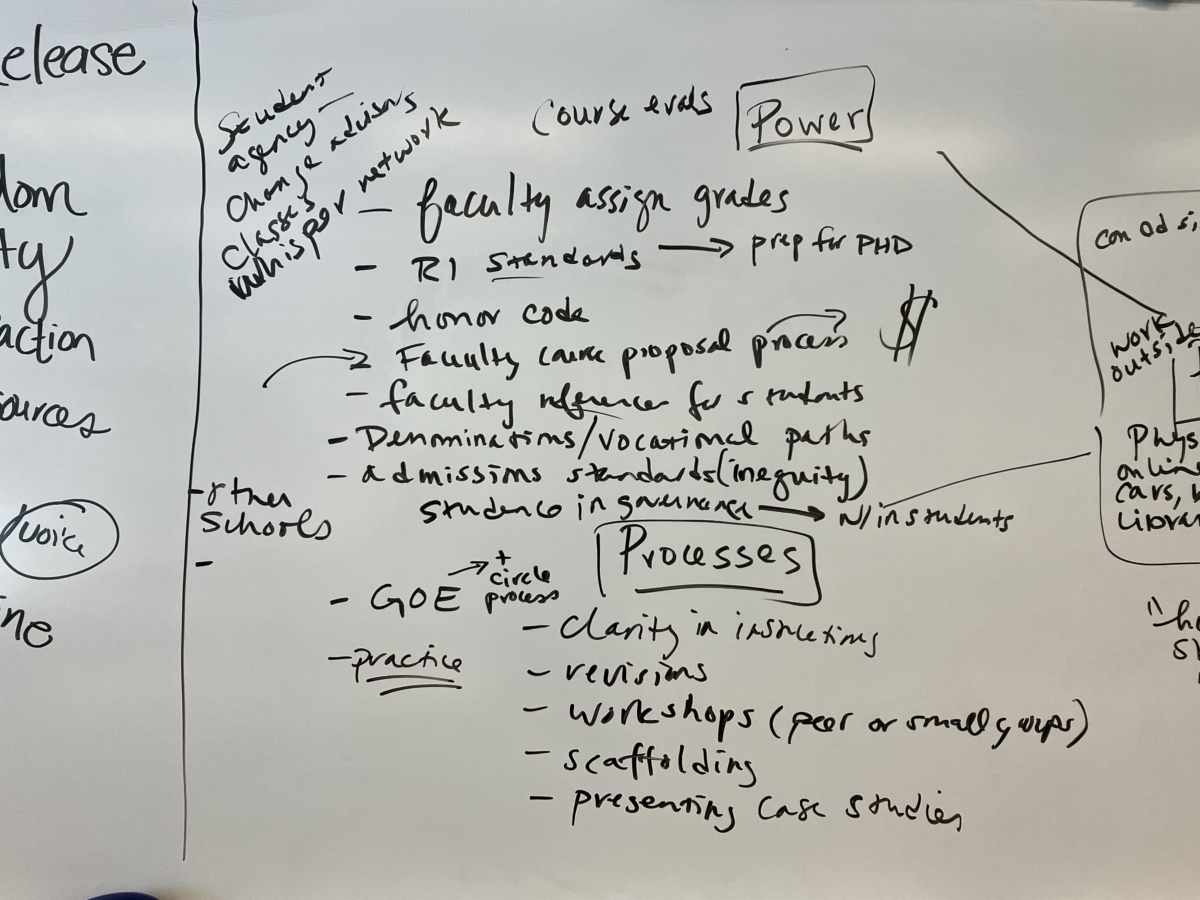
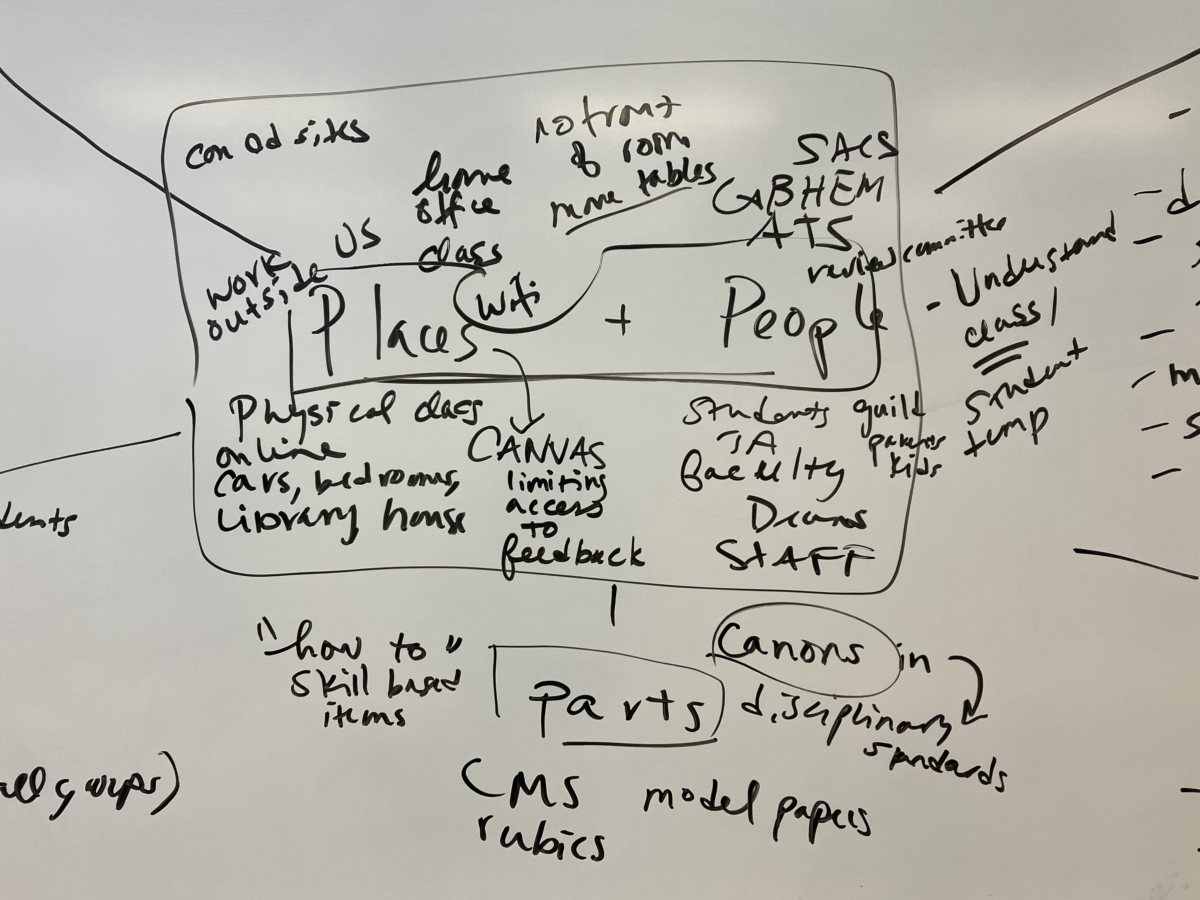
In antiracist pedagogy, mapping out our classroom assessment ecologies is essential. We must be able to articulate where power structures exist and where our teaching and assignments fit within them.
“An antiracist classroom writing assessment ecology is a complex political system of people, environments, actions, and relations of power that produce consciously understood relationships between and among people and their environments that help students problematize their existential writing assessment situations, which in turn changes or (re)creates the ecology so that it is fairer, more livable, and sustainable for everyone.”[2]
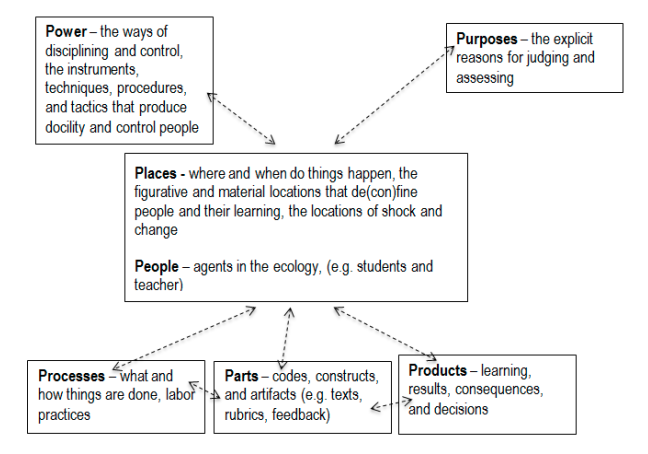
Inoue presents seven elements of antiracist writing ecologies:
- Power – In what ways are disciplining, control, and norming (to some standard) enacted?
- Parts – What are the codes, constructs, and artifacts used and produced?
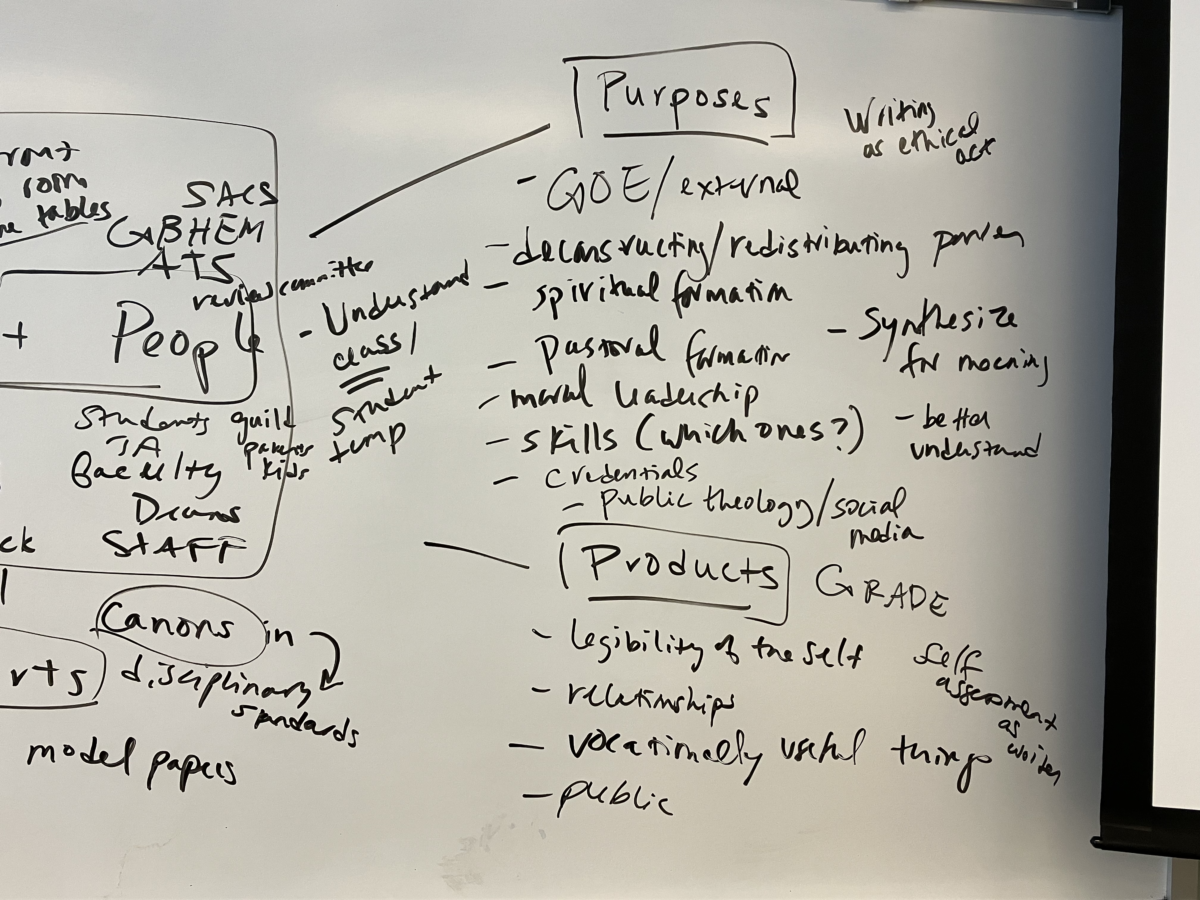
- Purposes – Why is assessing happening, or what are the reasons for assessment?
- People – Who is involved in judging and how much control in judging do they have?
- Processes – How are judgments accomplished and what happens with them?
- Products – What indirect and direct consequences are produced or expected?
- Places – What material and figurative sites are created that affect people?
Reimagining Assessment Ecologies as a Theological Practice
Often in the academy, student success in assessment correlates to social and economic privilege. Good writing often reveals a middle-class set of values, a “clear white racial set of experiences and perspectives.[3]
This “middle class” approach includes modes of assessment that create barriers between faculty and students, between students and learning. Part of dismantling these barriers is to engage faculty in dialogue with students and consider how theological education can adapt to the 21st century context.
The task of reimagining pedagogy is particularly vital for schools of theology. For many institutions, traditional evaluative ecologies (summative final exams and extensive academic writing) are designed to cultivate a specific type of student, which Willie James Jennings identifies as “white self-sufficient masculinity.”[4]
Dr. Jennings recently met with several early career faculty at Candler. He suggested that while many faculty affirm the presence of diverse student populations, they are often not able to honor the contexts and gifts every student brings with them into seminary study: “we desire to teach you, but we don’t desire you,” as Dr. Jennings put it. As the Office of Digital Learning at Candler, we are actively committed to reimagining pedagogy for all students. We are mindful of the barriers created by traditional assessment models and are striving for a more creative and innovative culture of assessment at Candler – one which prioritizes creativity, diversity, equity, and inclusion.
[1] Inoue, Asao B. (2015). Antiracist Writing Assessment Ecologies: Teaching and Assessing Writing for A Socially Just Future. Fort Collins: Parlor Press/WAC Clearinghouse, 9.
[2] Inoue, Antiracist Writing Assessment Ecologies, 82.
[3] Inoue, 28.
[4] Jennings Willie James. 2020. After Whiteness : An Education in Belonging. Grand Rapids Michigan: William B. Eerdmans Publishing Company, 27.