Learning Objectives
The purpose of this workshop is:
- To understand how mosaic glass is made
- To recognize the materials used in making mosaic glass
- To identify the safety hazards of making mosaic glass by substituting molten glass for polymer clay
- To learn about polymer clay and other modern, synthetic materials
- To engage in a group discussion about the process of making mosaic glass, caning, and the benefits of synthetic materials.
Curricular Tie-Ins
- This workshop allows students to simulate the process of making mosaic glass by replacing the dangerous, molten glass with a safe, non-toxic, synthetic material.
- The substitution of polymer clay allows for a discussion on modern materials.
- Students will be able to answer the following central questions after this workshop: -How can modern materials like polymer clay be used in art production?
- How do conservators work with modern materials when the properties of their longterm aging are still unknown?
- Students will learn about the glass-making process and how glass is conserved. –
- Students will learn about the properties of polymer clay and how it and other synthetic materials are conserved.
Supplies
- Place mat (Clear sheet protector)
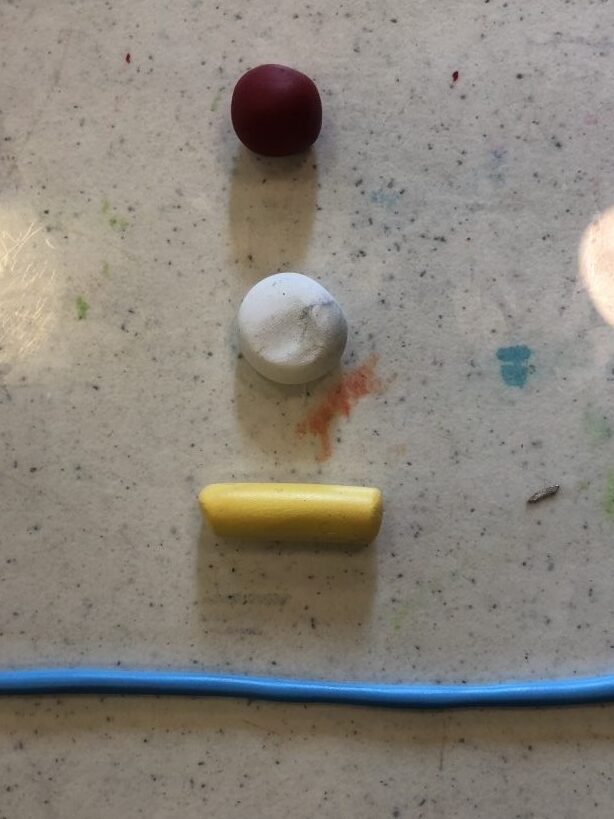
- Polymer Clay of different colors (Sculpy)
- Ziplock bags
- Knives
- Wide popsicle sticks
- Tray
- Oven
- Paper towel
Steps
- Set out mylar placemats over work area
- Cut blocks of sculpy soufflé clay into small blocks/chunks for easier use
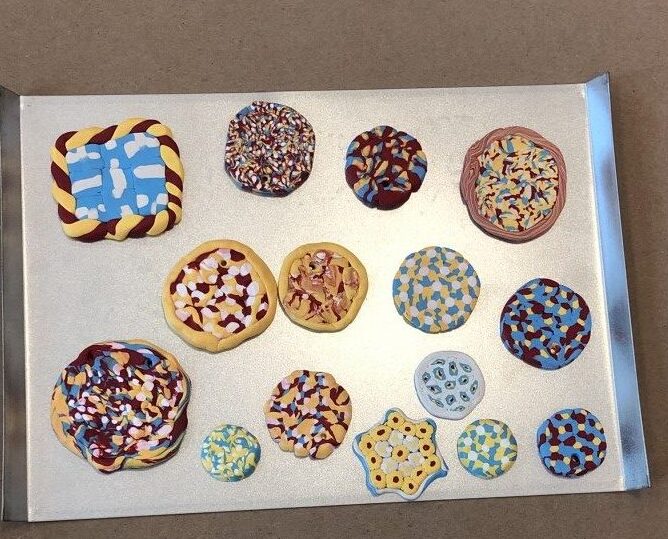
- Roll ~10 small snakes from blocks of clay
- Assemble ~5-6 small snakes into one thick cane
- Press snakes together so that cane holds
- Cut cane into ~1/8-inch slices
- Assemble slices lying horizontal into circular or square pendant ~1-2 inches
- Make sure all slices are smushed together so that they don’t fall apart
- Poke hole (if you want) with a needle/skewer for string to be threaded through
- Bake pendants ~15 minutes to harden
Tips
- Some clay may be stiff- so warm it up with your hands
- Roll a snake out using both hands – start in the middle and move your hands outwards
- Do this as gently as possible
- Try to keep the size of the rolled-out section consistent so it will be easier to create a uniform design later
- The snakes do not need to be very long
- When laying out the cross sections to create the final pendant, squish each piece together as you go.
- The pieces will not melt and flow together when they are baked.
- Some dyes may stain your hands so roll out the lighter clays first
Safety
There are minimal safety concerns in this workshop, as no toxic materials are being handled.
- Do not eat the clay polymer material.
- Be careful when cutting the clay. For children, plastic butter knives can be used to minimize risk of cuts.
- Be aware that certain clay colors can stain clothing.
- Be careful not to burn yourself heating/firing the pieces in the oven (both when removing and when putting them in).