Learning Objectives
- To witness the oxidation process that turns copper objects green
- To understand how a patina may be formed on top of an object
- To understand that copper corrosion is caused by a chemical reaction
Curricular Tie-ins
This patina workshop is a useful tool to help students to understand the process of copper corrosion by simulating copper oxidation. Understanding the process of corrosion will help students accurately recognize the chemistry of the patina formed on a copper object.
Students will be able to answer the following questions:
- What type of chemical reaction occurs on copper that causes an apple green patina to form?
- Why is understanding this reaction useful in technical art history?
- How can the addition of a patina to the surface change the interpretation of an object?
Supplies
- Clean workspace
- Mylar, newspaper (to protect the work surface, if necessary)
- Paper towels
- Zip-loc sandwich-size bag
- About 3.5×4 inch piece of card-stock
- Apron
- Nitrile gloves
- Safety glasses
- 2×2 inch copper coupon
- Sandpaper (medium and coarse grit)
- Empty film canister
- Paintbrush
- Centrifuge tubes
- 2tbsp medicine dispenser cups
- About 1 tsp of cupric Chloride [copper (II) chloride]
- Ammonium chloride
Painting the Patina onto the Coupon
Steps
Before Class:
- Prepare film canister with cupric chloride
- Add cupric chloride to each film canister
- Add ammonium chloride to around the 1mL line of the centrifuge tube
- Every film canister should get a tube of ammonium chloride
Directions:
- Using the sandpaper, scratch the surface of the copper coupon
- Place copper on cardstock card
- Add about 1 ounce of water to the film canister using the medicine cup
- Stir the mixture using a paintbrush
- Add the entire tube of ammonium chloride, stir
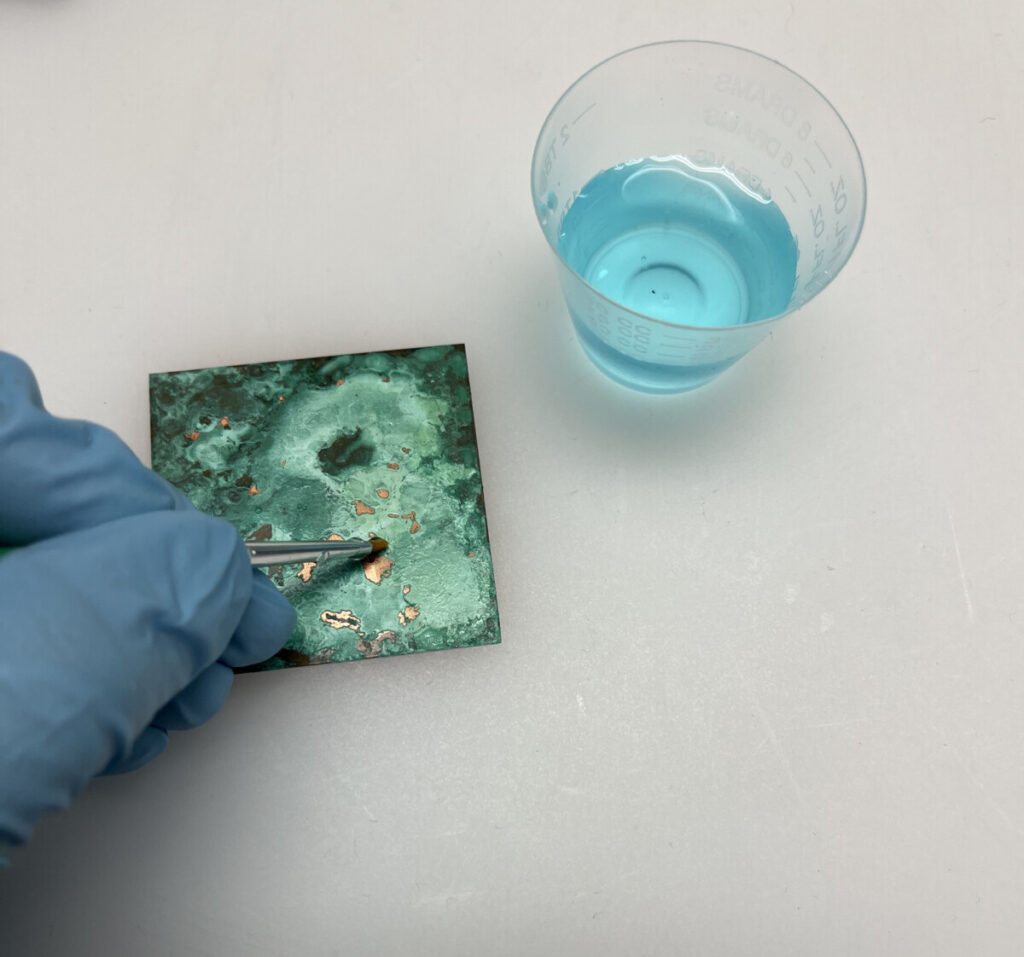
- Brush a layer of copper solution, and allow it to dry
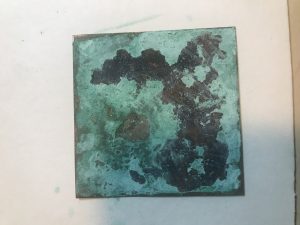
- Repeat adding enough layers of copper to cause the surface of the copper to form an apple-green coating (patina)
- To dispose of copper solution:
- Put paper towels into a zip-loc bag
- Pour the solution onto paper towels, and allow to dry
- Throw away the dried paper towels and bag
Tips
- Wear clothes that you do not mind getting dirty
- Keep solution away from eyes
- Do not drink the solution
- Brush thin layers of copper solution on to copper coupon
Safety
- Do not eat or drink at workstations
- Exercise care when using sandpaper
- Dispose of the copper solution properly
- Wear gloves and safety glasses during the workshop
Additional Materials
Video of patinating copper using household ammonia and table salt. Mixing the two forms ammonium chloride and causes a similar chemical reaction to the copper as this workshop.
A quick guide for three different ways to patina copper using household materials such as eggs, vinegar, and Miracle-Gro plant fertilizer.
Video of five different copper patina techniques, ranging from blue to brown patinas. The instructor uses solutions such as an ammonium chloride solution to achieve the different colors.