Learning Objectives
- To experience the paper-making process
- To understand the tools necessary for making paper
- To understand the challenges that preserving paper posses
- To understand the historical differences in paper making and the materials used
- To learn about different paper-making traditions globally
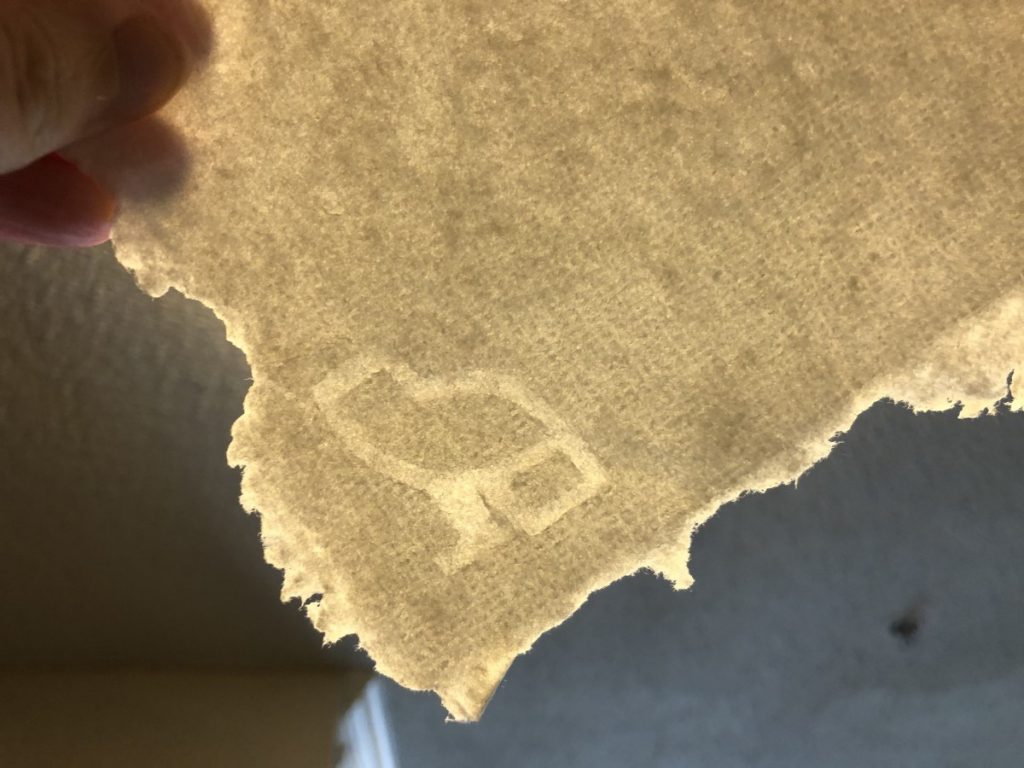
- To learn about the historical significance of watermarking
- To learn how different sources of pulp affect the structural integrity of paper
Curricular Tie-ins
This paper-making workshop is a useful tool to develop the fine skills of paper-making. Students will be introduced to the history of paper making and how different techniques and materials affect the structure of the final product.
Students will be able to answer the following questions:
- What are some of the different materials that can be used to make paper pulp?
- Why is it important to investigate and understand the material choice and working process of an object?
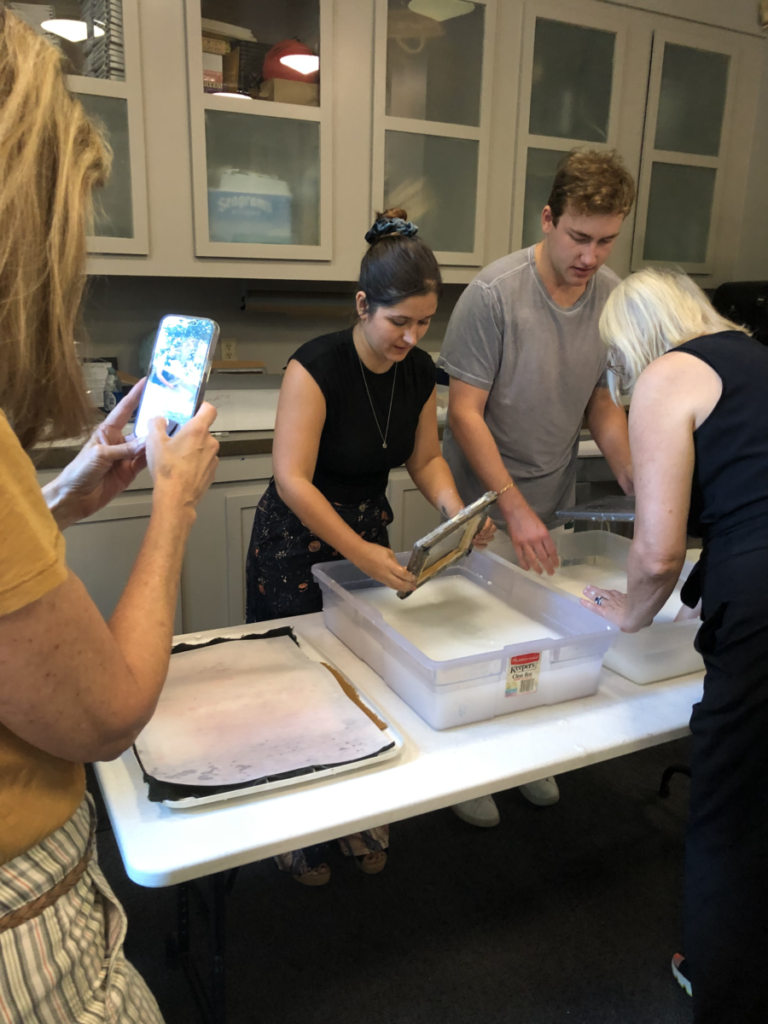 Students Making Paper in Class
- Clean workspace
- Mylar, towels (to protect the work surface, if necessary)
- Apron
- Paper-making screen/mold and deckle
- Cotton paper pulp
- Water
- Plastic bin (large enough to dip screen in)
- Couching cloths or blue shop towels
- Rubbing alcohol or hand sanitizer
- Large and sandwich-size zip-loc bags
- Cardboard
- Blender
- Strainer
- Magnetic sheets
- X-acto knives or scissors
- Permanent marker
- Heavy books
- Sunprint or cyanotype paper
- Acrylic or glass sheet (about the same size as sun print paper)
- Lemon juice
Steps
Before Class:
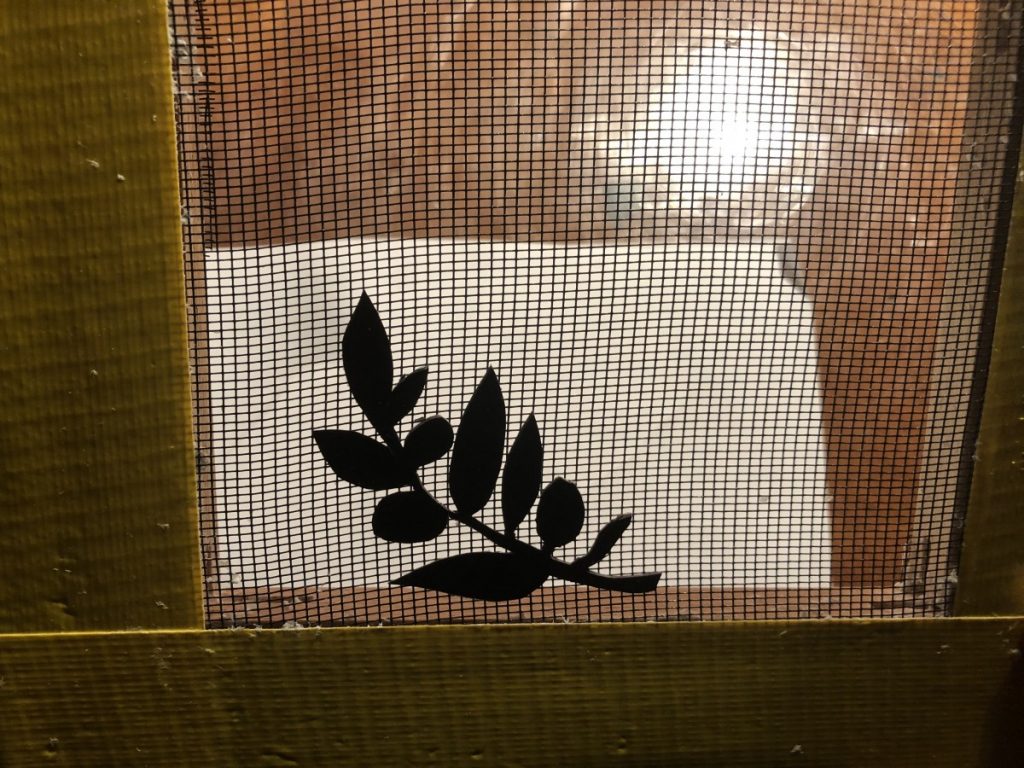
- Have students design and cut out a watermark using magnetic sheets
- Prepare a clean workspace
- Prepare paper pulp:
- Add a small amount of pulp and water to a blender in batches, blend thoroughly
- Drain the water out of the pulp using a strainer
- Fill up the sandwich bags with drained paper pulp, each student or group should receive two bags
- Lay down towels to protect the workspace
- Fill a plastic bin with water, about 2 inches deep
- Add a bag of paper pulp
- If pulp has any brown spots or mold, remove them and add rubbing alcohol or hand sanitizer to the tub
- Break up paper pulp with hands
- Allow the pulp to soak for at least 20 minutes
Directions:
- Fold a hand towel into thirds lengthwise
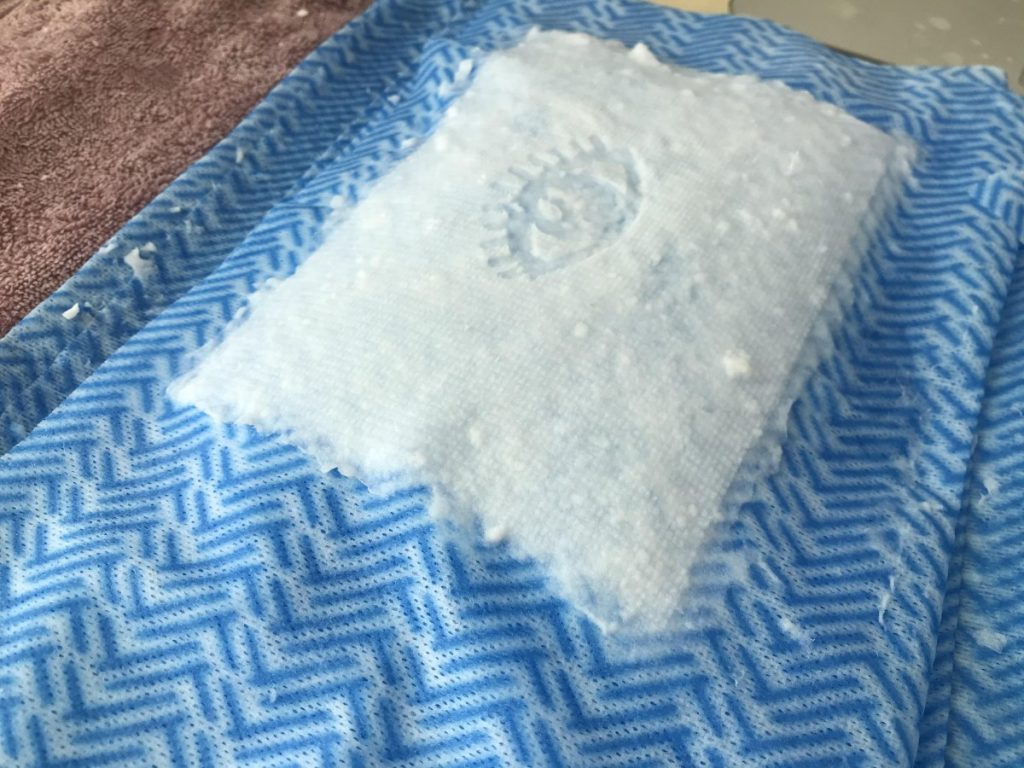
- Lay down a couching cloth or blue shop towel
- Agitate the pulp mixture and break down any large clumps (pulp mixture should look like clouds)
- Remove the paper backing from the magnet sheet and stick it to the front (flat surface) of the screen
- Dip screen into the tub and swipe the screen across the tub
- Pull the screen back up to the surface parallel to the water
- Allow the screen to drain
- Turn the screen upside down and press the paper onto the couching cloth using a rocking motion from left to right
- Paper should come off the screen, if not scoop the pulp off of the screen and try again
- Add another couching cloth on top of the first sheet of paper
- Dip the screen back into the tub and repeat
- Continue making paper until you get close to running out of pulp
- Put heavy books into 2 large zip-loc bags
- Sandwich the finished papers between the two bags of books on the table or the ground
- Stand or press down onto the book sandwich to squeeze out excess water (best if done outside)
- Separate couching cloths and allow the paper to dry slightly
- Gently remove the damp paper from the cloths
- Sit paper onto cardboard (without touching each other) and let dry
- To dispose of paper pulp:
- Pour the leftover pulp mixture over a strainer to remove the pulp
- Squeeze to remove excess pulp
- Strain the water again to ensure that all pulp has been removed
- pour the used water down the drain
- Place unused pulp in a zip-loc bag and repurpose
Sun prints:
- In a room without bright light open the sprints kit or get a sheet of cyanotype paper
- Lay down a piece of homemade paper that best shows your watermark on top of the blue side of the paper
- Lay the glass or acrylic sheet on top and set out in the sun
- Let the paper sit outside for at least 5 minutes, the longer the better
- Place paper into a plastic pin and pour water and lemon juice on top of the paper
- Allow the print to develop, the watermark should be a dark blue color
Tips
- Wear clothes that you do not mind getting dirty
- Keep extra water and paper pulp nearby to control pulp mixture consistency
- Lay down towels around your workspace (water will get everywhere)
- If possible, do the paper-making workshop outside
- Be gentle when transporting wet paper from screens and couching cloths
- Choose a sunny day to do the sun print exercise
Safety
- Do not eat or drink paper pulp mixture
- Be sure to remove the paper pulp from the mixture before pouring it down the drain
