Curricular Tie-Ins
This clay-forming workshop is a useful teaching method for understanding how objects, even museum objects, are products of manufacture.
- Helps the student to understand how manufacturing processes, such as the temper used in a clay pot, affect the physical properties of an object
- The student will also understand how these processes affect the preservation of the object over time (e.g. weathering, weak spots, etc.)
- Students will also understand how additive and subtractive processes affect the final product of a design
Supplies
Below are the materials necessary to complete the clay-forming workshop:
- A Clean workspace
- Mylar, parchment paper (to protect the work surface, if necessary)
- Old clothes, rags, damp paper towels (to clean hands)
- Apron
- Temper (old pottery, rice, egg-shell [to be prepared before class])
- Stone/earthenware clay
- Water in spray bottle
- Popsicle sticks (different sizes)
- Old library card (or any old flexible, plastic card [optional])
- Watermelon tub
- Metal garbage can lid or scrap sheet metal
- Long metal tongs or trash grabber
- Heat resistant gloves
- Newspaper
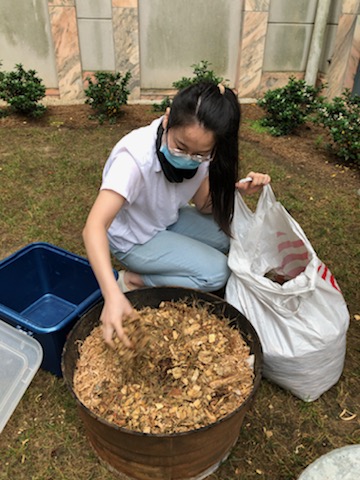
- Lawn waste
- Sawdust
- Safety lighter
Steps
Before Class:
- Have students prepare their temper before class
- Prepare a clean workspace
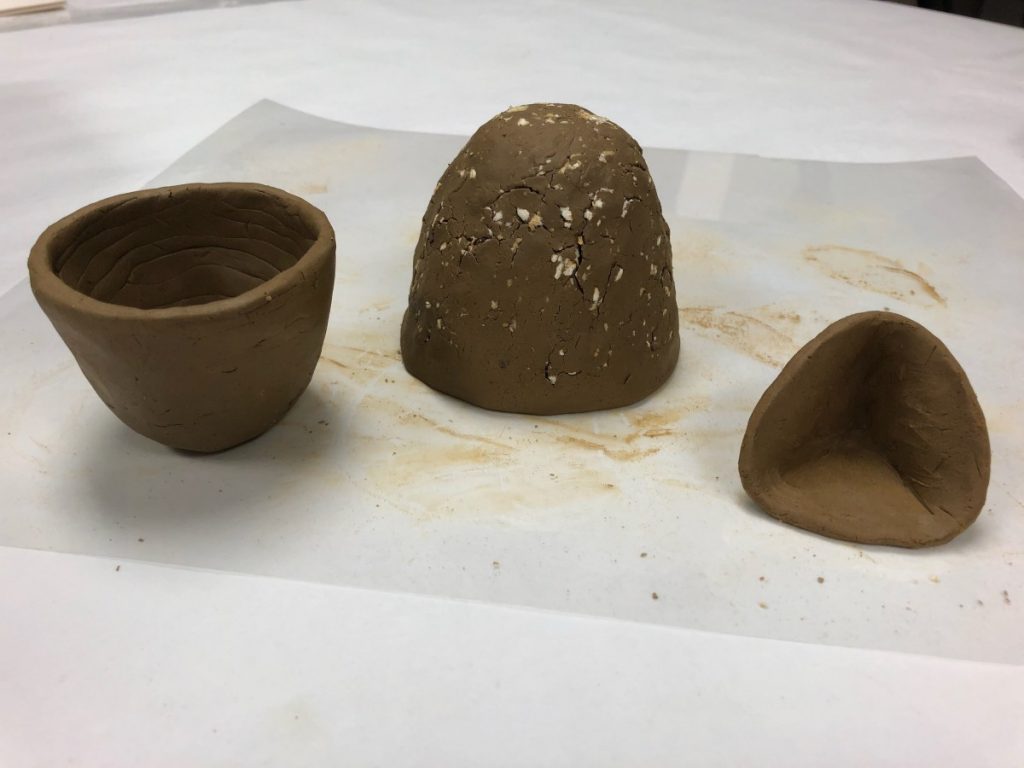
- Cut an approximately 5x5x5 piece of clay for each student
Directions:
- Add temper to clay, ensuring temper is thoroughly distributed throughout the clay
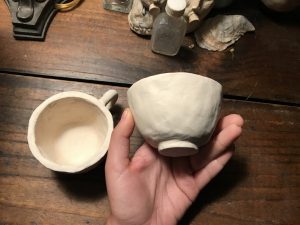
- Form clay into desired shape
- Allow clay to dry for at least 24 hours
- OPTIONAL: when clay reaches the leather hard stage, the clay can be burnished using the back of a spoon or a smooth stone. Rub a high-heat oil-like vegetable oil on the surface of the clay with fingers, allow the oil to absorb, and go over the clay object with the spoon/smooth stone.
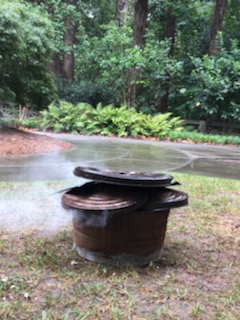
- After the clay is fully dried, prepare watermelon tub
- Add sawdust to the kiln
- Using a twisted piece of newspaper or a safety lighter light a section of the sawdust on fire
- Allow the fire to spread throughout the tub, agitate with a stick if necessary
- Wrap dried clay pieces individually with newspaper
- Wearing heat resistant gloves add clay pieces to fire with tongs/trash grabber
- Cover with more leaves/straw/sawdust
- Cover tub
- Let the fire burn for 8-12 hours, or until fire burns out
- Allow the tub to cool
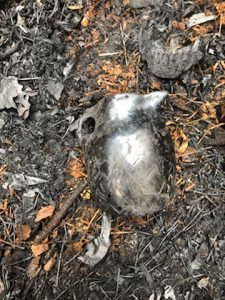
- Remove pieces with tongs/trash grabber
Tips
- Wear clothes that you do not mind getting dirty
- Avoid wearing loose, dangly clothing during the pit firing
- Tie hair back during the pit firing
- Alert the proper authorities about the pit firing, if doing so on a campus/public area
- Keep water or a fire extinguisher at reach during the pit firing
- Use a spray bottle with water to keep the clay moist during hand-building
- Keep loose scraps of excess clay for another project
- Use a wire clay cutter when sectioning of clay pieces
- Try not to spend too much time on the design of your potter piece, the mission of this workshop is to understand the clay forming process and the affects that temper has on the clay
- Be creative when choosing temper, the more variety the more that is learned from this workshop
- Clean workspace with a washrag/paper towel with warm soapy water, to remove clay
Safety
- Exercise care around the fire, and ensure that proper safety equipment is used while the pit fire is burning
- Keep water or a fire extinguisher at reach during the pit firing